DIY Guide: Building a Concrete-Based Backyard Basketball Court
April 16, 2024
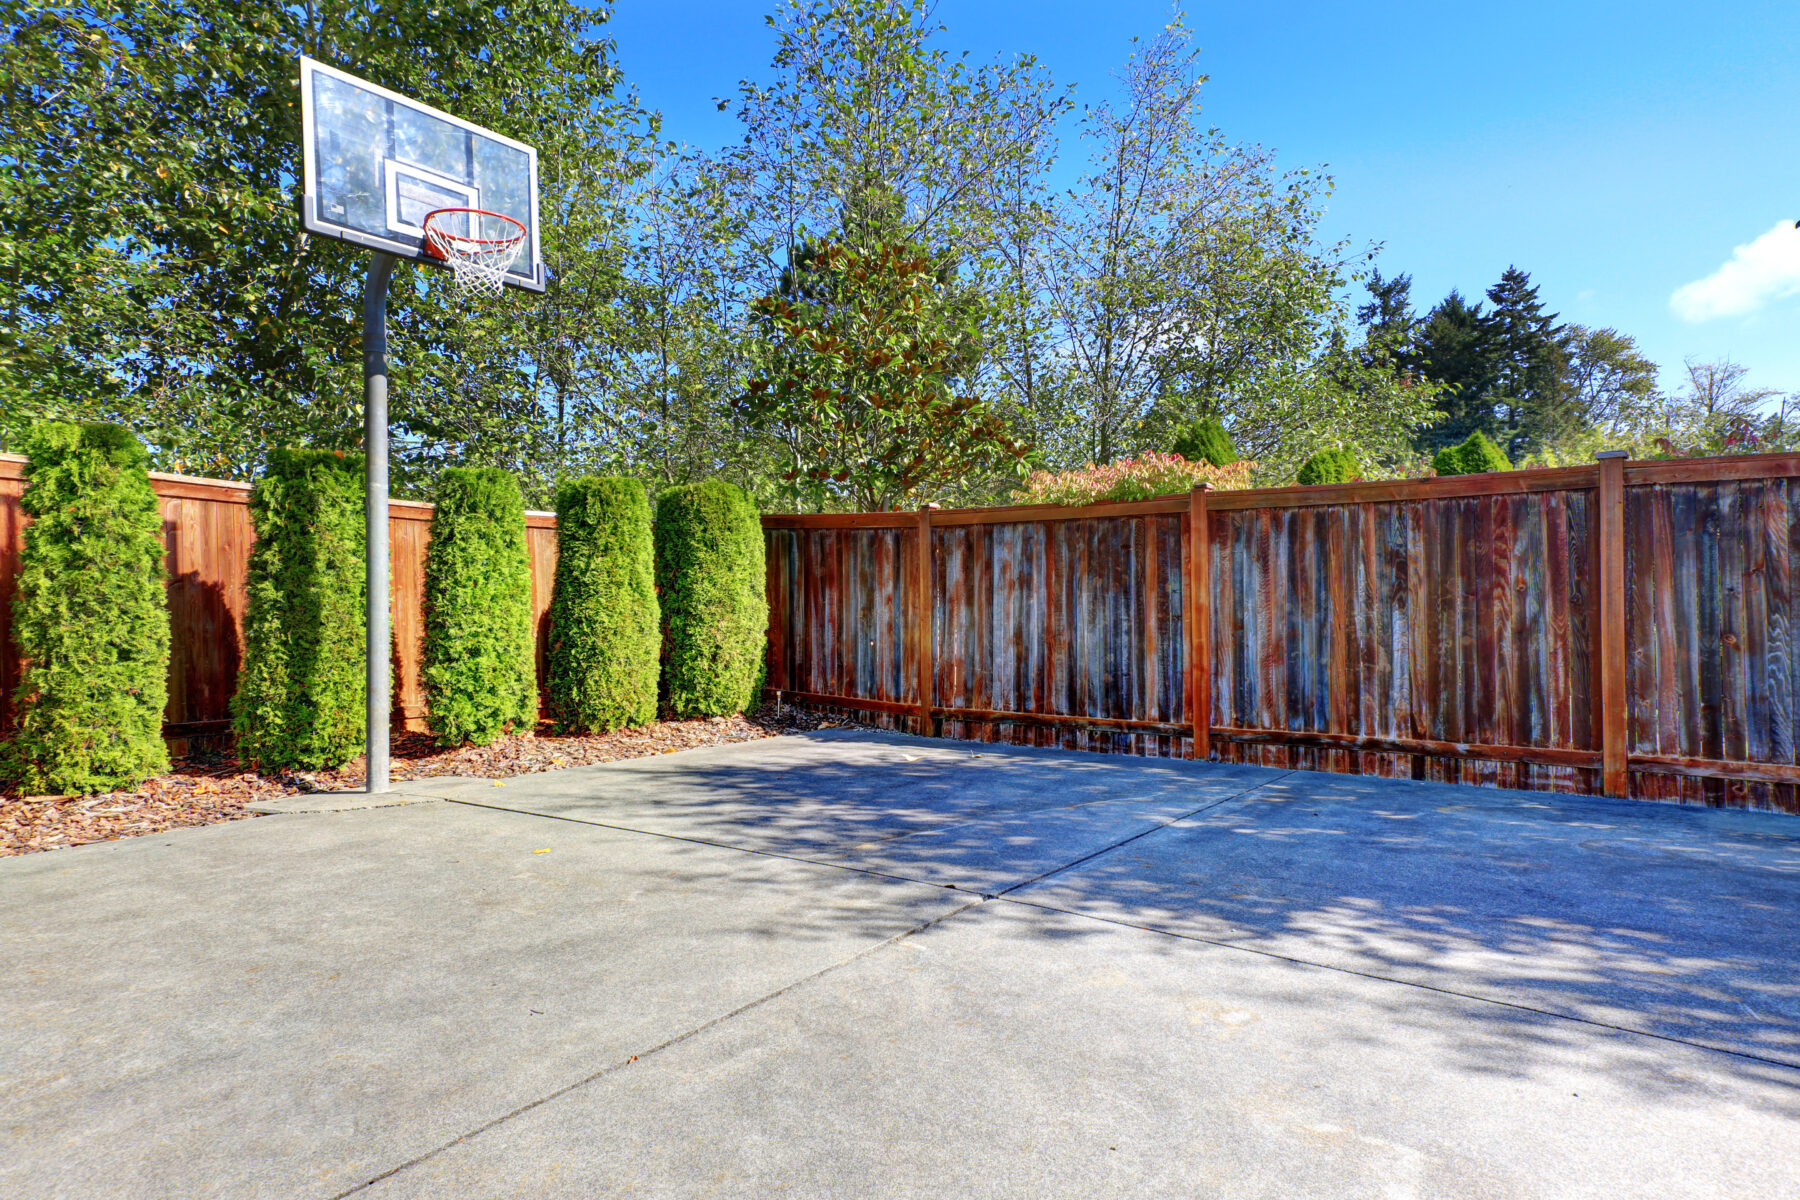
Think of the benefits of owning a concrete-based basketball court right in the backyard. It’s not just about adding an interesting feature to the home. It’s also about creating opportunities for family fun, staying fit, and even building connections with the community. Regularly using the basketball court can help keep everyone active and healthy in an exciting way. Planning parties and events around the court can lead to great memories and friendships made. Concrete courts are durable and can withstand various weather conditions and maintenance is generally easy. Although installing a backyard basketball court can be costly, it promotes family fun, healthy living, socializing, and offers ultimate convenience.
Planning the Court Build
The foundation of a basketball court begins with understanding its size and space needs. Full-sized courts measure 94 feet in length and 50 feet in width. However, a half-court, often preferred for backyards, is smaller at approximately 47 feet in length and 50 feet in width. Keep in mind that the backyard’s available space may require further adjustments to these measurements.
Choose a flat area with enough space around the court. This ensures unrestricted movement and safety during games.
Next, there’s some specific tools and materials that will be needed for the project. First the materials:
Concrete: Provides the actual hard surface for your court.
Rebar: Offers reinforcement for the concrete.
Basketball hoop: The centerpiece of your court, mounted onto a pole or other structure.
Line marking paint: Makes the court design and game lines on the concrete surface.
There’ll be a need for a mixer to combine the concrete, a trowel for distributing and leveling the mix, and some tools to ensure an even court surface.
It’s also crucial to adhere to local construction regulations and homeowner’s association (HOA) standards. These rules can determine accepted court measures, location, among other things. Moreover, some zones might need construction permits. That’s why it’s always wise to do the homework and get any necessary permits before starting work.
Preparation of the Site
Begin by identifying and clearing the area where the concrete-based basketball court will sit. Removal of surface debris such as rocks, plants, and remaining roots is a must. Once debris is cleared, leveling the ground comes next. This often requires an expert with the right equipment, making sure the ground is flat and stable.
Setting up formworks is next. These are temporary structures used to mold the concrete into the desired shape. Wooden planks are one common material utilized for this. Carefully measure and cut these planks to the needed dimensions and set them around the perimeter. Secure them with stakes (wooden or steel) driven into the ground at regular intervals. Make sure to check their levels to guarantee the evenness of the court’s plane.
The final step before pouring concrete is preparing and placing the reinforcement. Whether using rebar or mesh, this will make the court durable and prevent cracking. Lay the reinforcement material down inside the formwork, placing it evenly across the entire court base while making sure it doesn’t touch the formworks. If rebar is used, it should be tied together at the intersections to form a grid. The size and spacing of the rebar grid will largely depend on the size of the court and local building regulations.
Pouring the Concrete
Knowing how to mix, pour, spread, and smooth concrete is essential to build a usable backyard basketball court. Achieving a uniform blend and distribution of the concrete is critical for the court’s lasting performance and practical use.
Mixing concrete requires precision to reach the desired consistency, like heavy batter. The mix shouldn’t be too wet or dry to ensure the slab hardens and gains strength. It’ll need to adhere to the manufacturer’s instructions when mixing the concrete.
When starting the concrete pouring, it’s again about uniformity. Begin at one end of the formwork and move towards the other, maintaining a consistent layer throughout. Use a screed to adjust and even out the concrete, guaranteeing a 4-inch depth across the entire surface. This thickness is what’s needed for the basketball court’s stability.
Once poured, the next step is to smooth the concrete surface. Use a bull float immediately after screeding to level the surface and press large aggregate below the concrete surface. Smooth out any rough spots to ensure an even, flat surface across the slab.
Finally, to create the best surface, use a medium-broom finish. This process will give the necessary grip for a game of basketball and ensure a secure bond for sport coatings. It’s better to avoid curing compounds on the concrete since they might cause cracks. Try moisture-curing the slab instead to avert potential damage to bond-breaking films and acrylic sports coatings.
Installing the Hoop
Once the court surface is in place, the hoop selection and installation will be the next logical step.
Choosing the Right Hoop
Picking the right hoop for a backyard basketball court hinges on the available space and the court’s intended use. The choice will be between in-ground and portable hoops.
In-ground hoops: These are stable hoops, firmly set in concrete or cement. They offer a professional feel to the game and are perfect for consistent or competitive play.
Portable hoops: These, in contrast, offer the flexibility of moving them around as needed.
Portable hoops are versatile options. They can be stabilized with sand or water and can be moved as necessary, making them a great solution for those seeking flexibility without being permanently fixed.
Installation Process
Pick out a spot for the hoop, ensuring no obstructions are around. Next, carve out a hole about 24-30 inches deep and 16 inches wide in the area. Place the post inside the hole and use a level to make certain it’s straight up and down. Next, prepare and slowly pour the concrete around the pole until it’s roughly three quarters full. Take care to keep the pole’s holes concrete-free. Allow for about 72 hours for the concrete to fully cure. With the pole stable, attach the backboard, hoop, and net. This usually requires two people for secure and correct placement. Let everything set for an additional 24 hours before playing any games.
Court Marking
Starting to mark the court can be made easier when using a pre-made layout. This layout should match standard basketball court sizes, which vary for NBA, high school, middle school, and backyard courts. To make the game feel real, the foul lines should be 15 feet from the front of the backboard.
After finalizing the layout, drawing the lines is straightforward. Using a chalk line tool helps in creating precise and straight lines. However, it’s important to use a primer for better paint adhesion, resulting in a longer-lasting court.
Use a durable, weather-proof paint for the best results. Apply several thin layers to make the court lines bright and long-lasting. Make sure to let each layer dry fully before adding the next, which will allow the layers to build on one another without bubbling and peeling.
Maintenance Tips
A good upkeep routine for a basketball court is simple and regular. It’s important to keep the surface free from litter and debris. Sweeping often not only keeps the court tidy, but it also saves the surface from harm. Things like leaves, stones, and other debris might scratch or chip the concrete over time.
Detect cracks or wear signs early by regularly checking the court. Fill these cracks with a concrete sealer, then use a concrete patch for surface restoration. Regular timely repairs help prevent serious damage and ensure the court’s lifespan.
Here’s a helpful hint: occasional cleaning can improve the court’s surface, making play more enjoyable. A gentle, environmentally safe soap mixed with warm water works well. Following these suggestions will ensure your concrete basketball court not only brings lots of fun, but also lasts a long time!