

Building a Pea Gravel Pathway: A Step-by-Step Guide
June 6, 2023
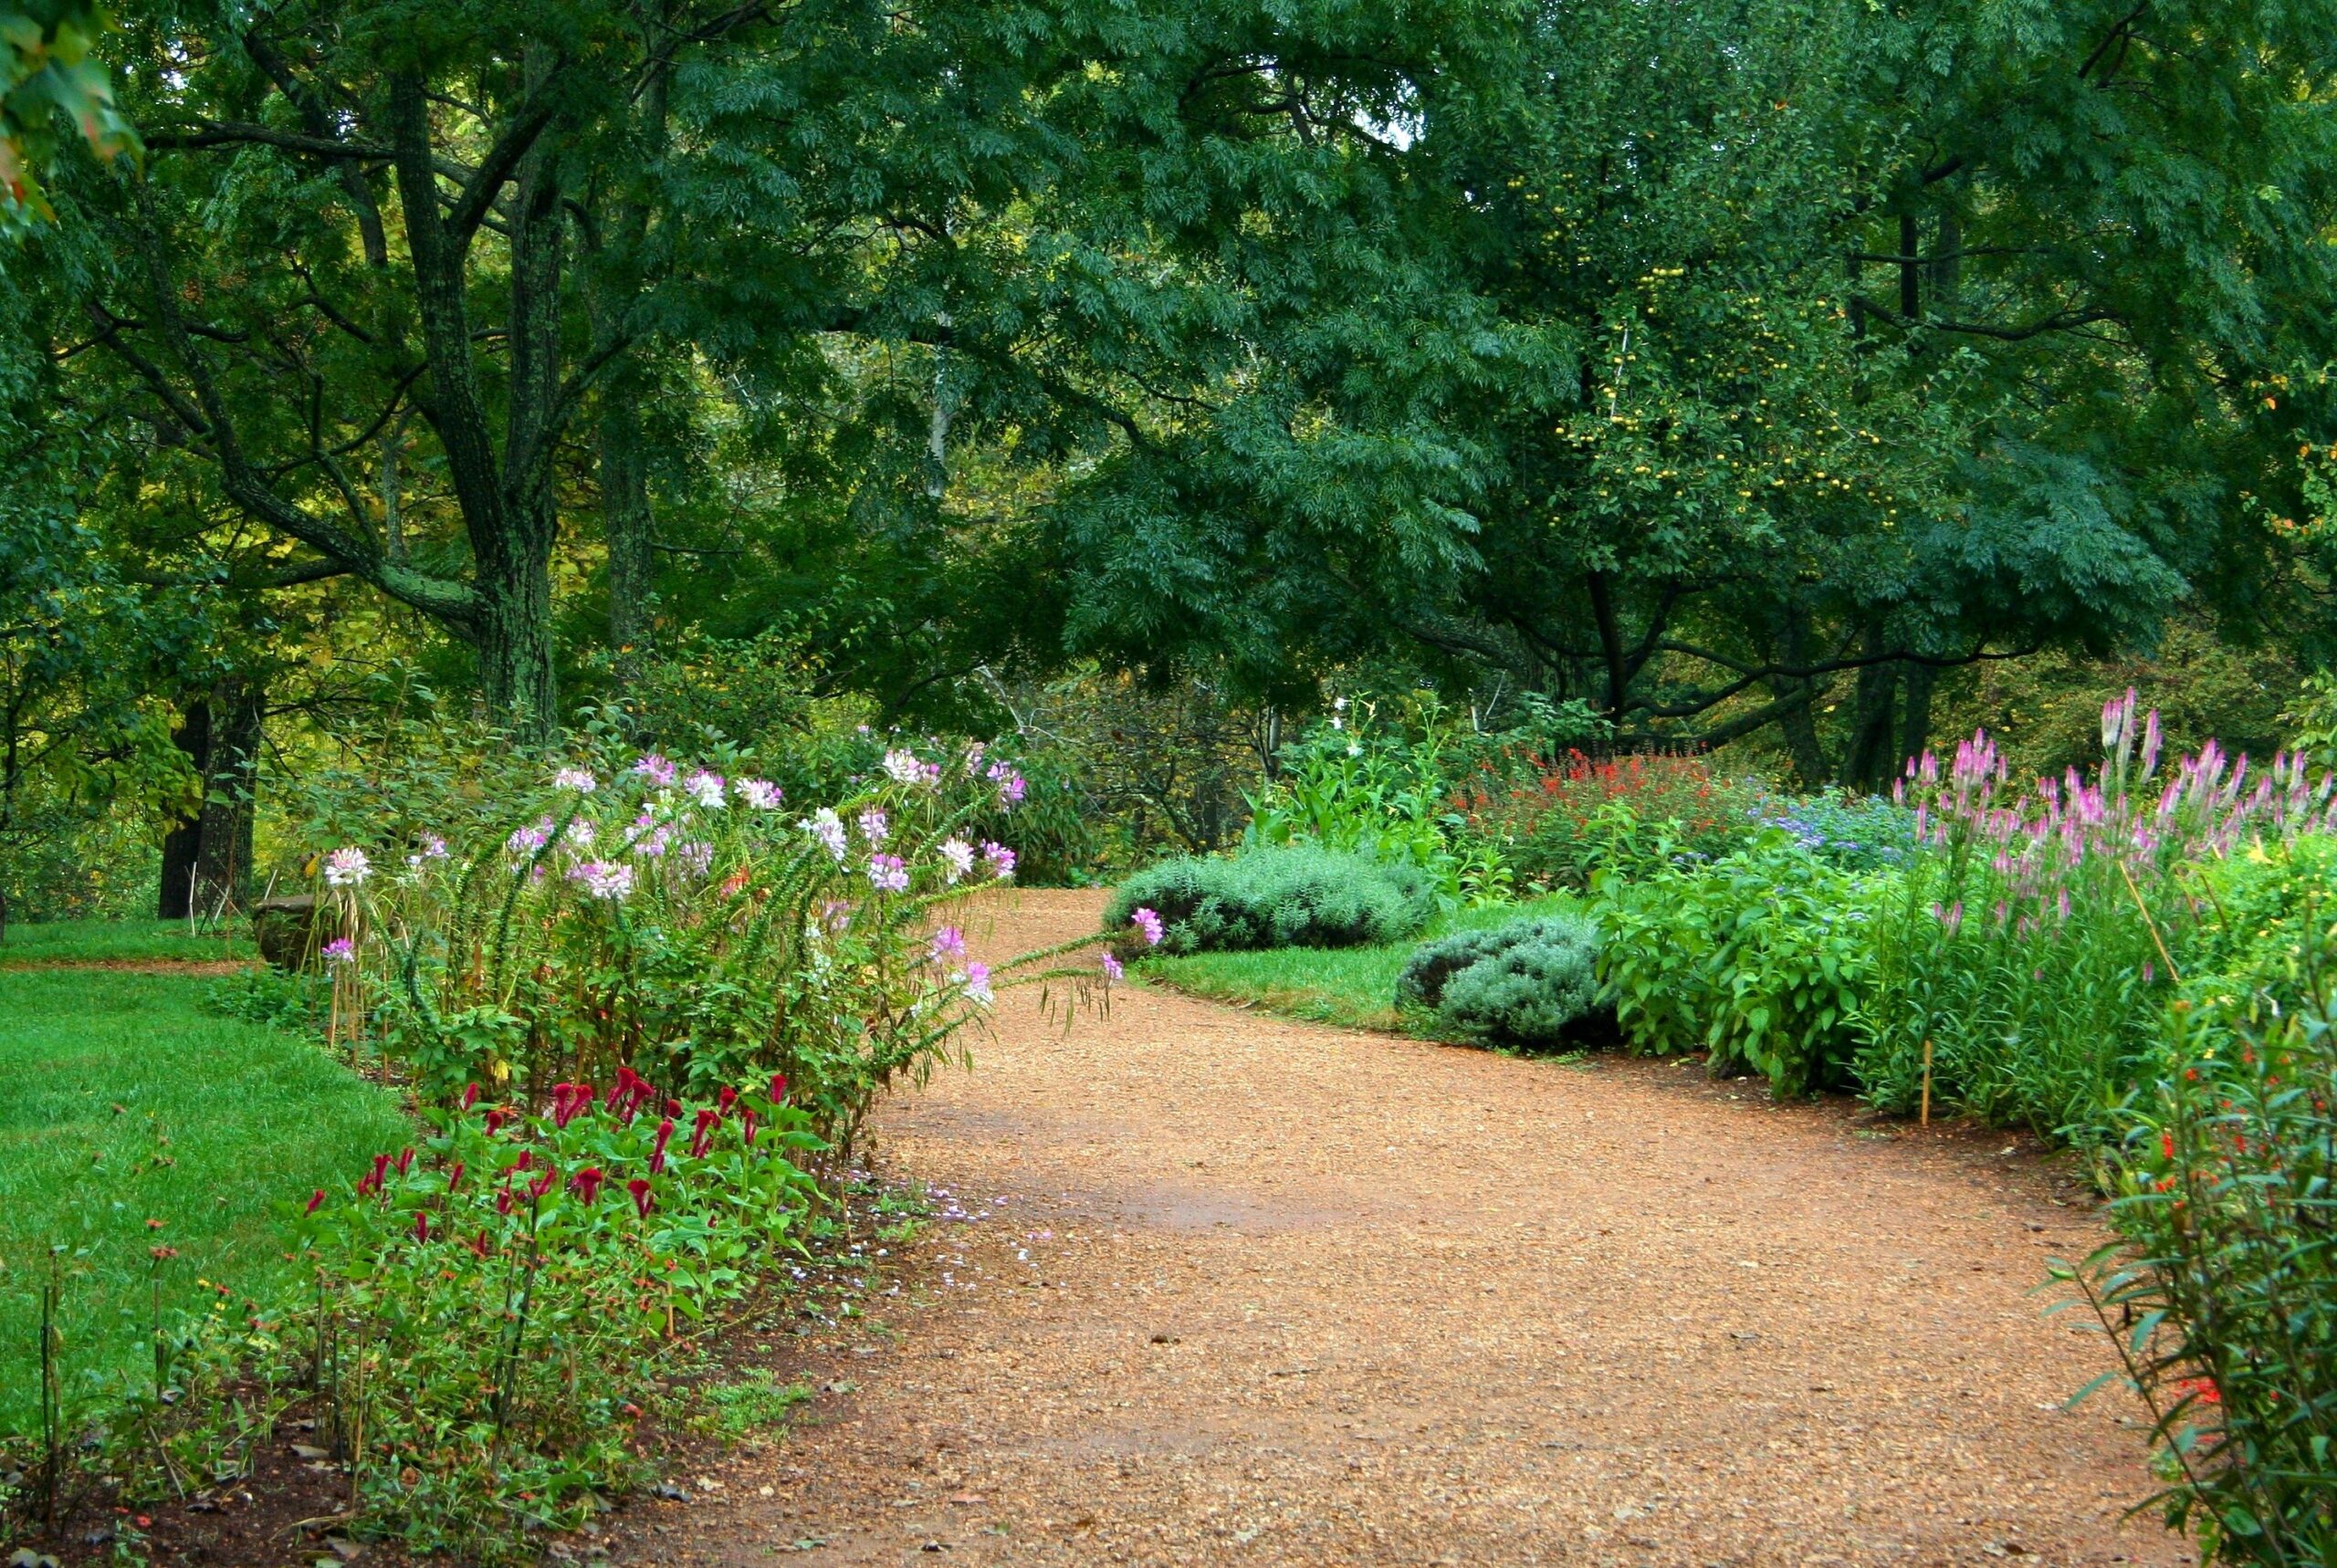 Creating a pea gravel pathway in your garden or outdoor space is an affordable and relatively simple DIY project that can greatly enhance the aesthetics and functionality of your space. Pea gravel pathways are durable, require minimal maintenance, and provide a comfortable walking surface. Let’s delve into a step-by-step guide to creating your own pea gravel pathway.
Step 1: Planning Your Pathway
Before anything else, decide where you want your path to lead. Consider the layout of your garden, the foot traffic the path will receive, and its overall purpose. Once you’ve determined the location, use a garden hose or some rope to outline the shape of your pathway.
Step 2: Marking Out Your Pathway
Once you’re happy with the shape, mark the outline with spray paint or chalk. This is the moment to finalize the dimensions. Standard garden paths are between 3 to 4 feet wide but consider your needs when deciding the width.
Step 3: Excavating Your Pathway
Dig out the area within your marked lines to a depth of about 4 inches to allow enough room for the gravel and the underlay. As you’re digging, make sure to keep the path’s surface as flat as possible. This will help ensure that your finished path is level and smooth.
Step 4: Installing the Edging
Edging will help contain the pea gravel, so it remains within the pathway. This can be made of any material that suits your garden’s aesthetic, such as brick, wood, or metal. Install the edging along the path outline and secure it into the ground using spikes or stakes.
Step 5: Laying the Landscape Fabric
Roll out landscape fabric along the excavated pathway. This prevents weeds from growing up through the gravel. Trim the fabric so it fits the path’s shape but make sure it slightly overlaps the edging.
Step 6: Adding the Gravel
Now you’re ready to add the pea gravel. Pour the gravel into the pathway, spreading it evenly with a rake until it’s about half an inch below the top of the edging.
Step 7: Tamping the Gravel
Finally, compact the gravel with a hand tamper or the flat end of a digging bar. This will help interlock the pea gravel and create a more stable surface.
Step 8: Maintenance
The last step is all about maintenance. While pea gravel paths are relatively low maintenance, you may still need to rake the path occasionally to keep it smooth and replace any gravel that has strayed from the path.
Building a pea gravel pathway is an achievable project that can be completed over a weekend. The finished product will add charm and functionality to your garden, while also improving the overall aesthetic of your outdoor space. Plus, the satisfaction of completing a project with your own two hands is hard to beat. We at APC Construction have been serving our customers with quality gravel products for years, so if you have any questions, or need materials for your pathway project, we’d be happy to hear from you.